
3.4 KiB
3.4 KiB
| sidebar_position | title |
|---|---|
| 2 | Backing Up a Database |
Backing Up a Database
Before performing a backup, choose the right type for your situation:
| Type | What it captures | When to use |
|---|---|---|
| Full | The entire database | Weekly baseline; required before any other type |
| Differential | Changes since the last full backup | Daily; faster and lighter than a full backup |
| Transaction Log | All log activity since the last log backup | Hourly or more; enables point-in-time recovery |
Full Backup
- Open SSMS and connect to your SQL Server instance.
- In the Object Explorer panel, expand the Databases node.
- Right-click the database you want to back up, then select Tasks → Back Up…

- The Back Up Database window will open. Under Backup type, make sure Full is selected.

- Under Destination, you will see a default backup path. To change it:
- Click Remove to clear the existing path.
- Click Add, then type or browse to your desired folder and filename (e.g.,
MyDatabase_Full_2025-04-22.bak). - Click OK.

- Click OK to start the backup.

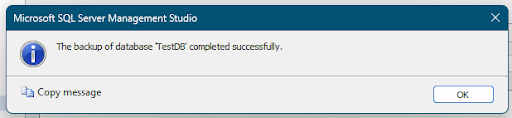
- A confirmation dialog will appear when it completes successfully.
Differential Backup
Follow the same steps as a full backup, with one change at step 4: under Backup type, select Differential instead of Full.

NOTE: A differential backup requires that a full backup has already been taken for the same database.
Transaction Log Backup
- Right-click the database → Tasks → Back Up…
- Under Backup type, select Transaction Log.
- Set the destination path and filename (e.g.,
MyDatabase_Log_2025-04-22_10h00.trn).

- Click OK to run the backup.

NOTE: This option is only available when the database uses the Full or Bulk-Logged recovery model. To verify: right-click your database → Properties → Options → check the Recovery model field.

Scheduling Automatic Backups
You can automate recurring backups directly from the backup window without any scripting:
- Configure your backup as described in the steps above, but do not click OK yet.

- At the top of the window, click Script → Script Action to Job

- The New Job window will open. Go to the Schedules page and click New.
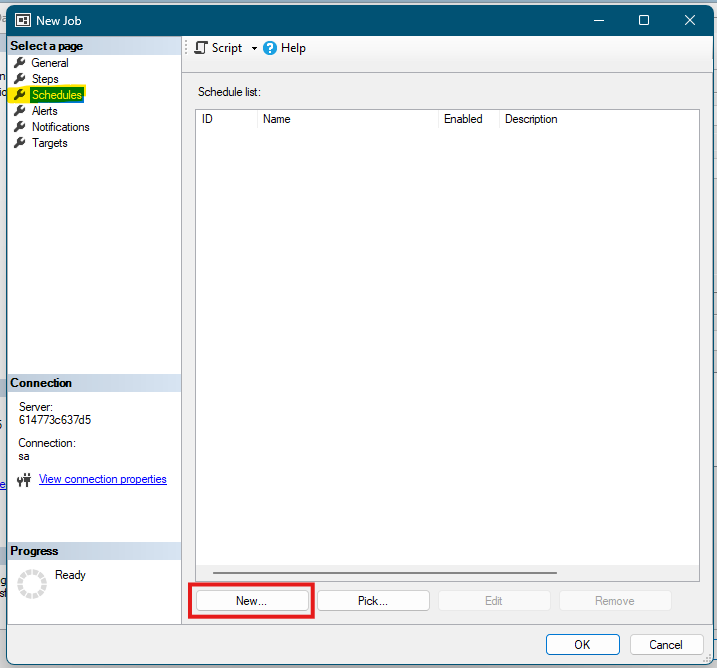
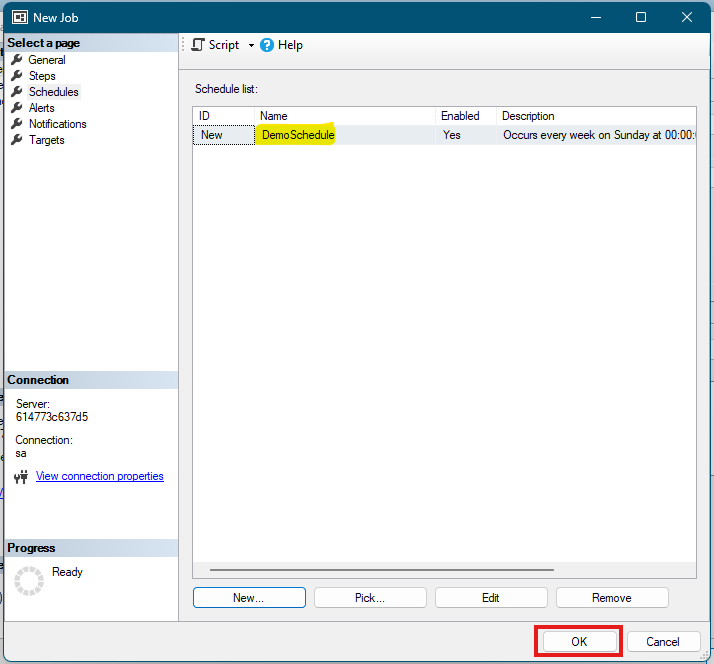
- Define your schedule (frequency, start time, recurrence) and click OK.

- Click OK again to save the job. SQL Server Agent will run the backup automatically on the defined schedule.
NOTE: SQL Server Agent must be running for scheduled jobs to execute. You can check its status in Object Explorer (it appears as a node at the bottom of the tree).
